
Craft Ornament for You and Your Family
Do you love those personalized ornaments with pictures from your life? Come along with me while I teach you how to make picture perfect Christmas ornaments with a rustic flair that will be a family favorite this Holiday season!
Step One: Gather your materials
What you will need for this craft:
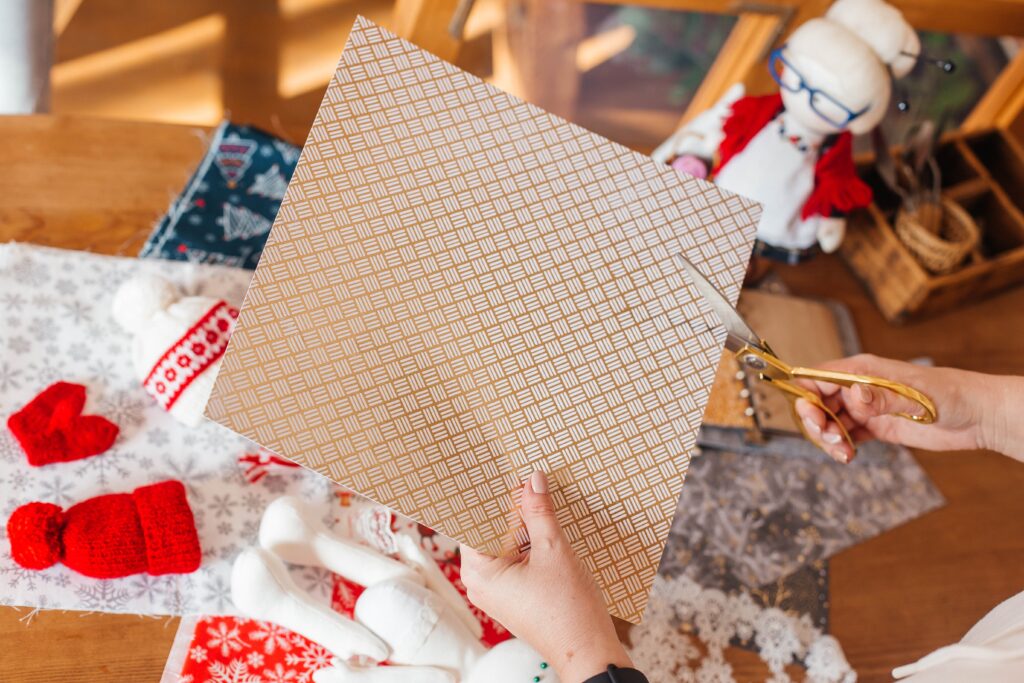
- print of a picture that you like. Be sure to print onto regular white paper, not photograph paper.
- modge podge
- a paint brush
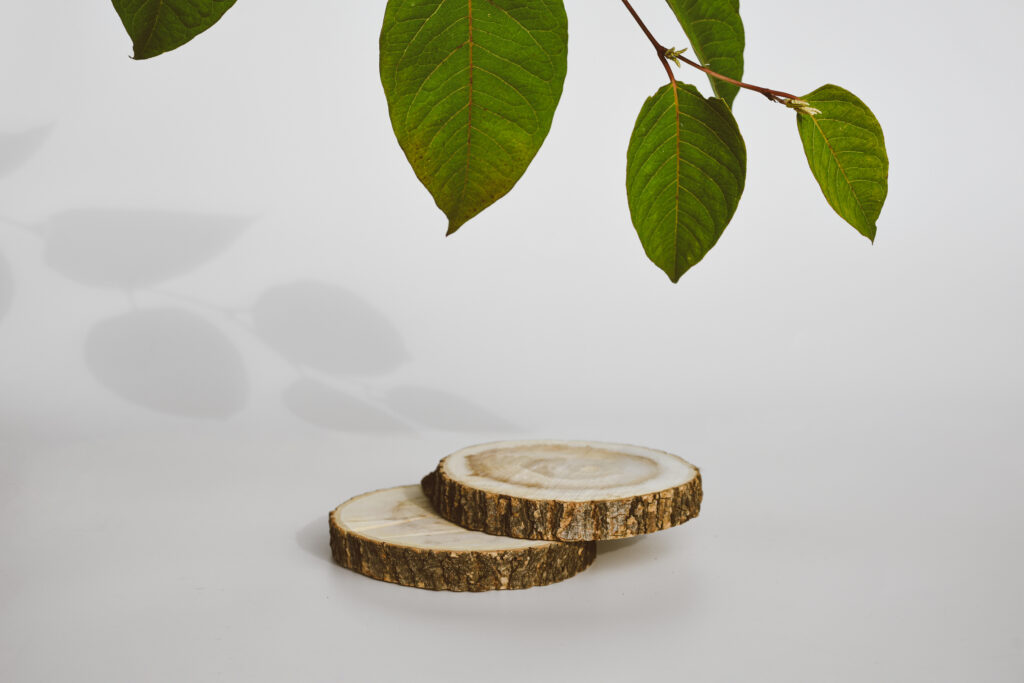
- a slice of sanded wood
Step Two: The Process
Lay out your wood slices or pieces of wood. Apply a thick layer of the modge podge onto your wood. Directly on top of the modge podge, place your picture printed on regular white paper and then apply another layer of modge podge on top of the picture. Be cautious when selecting your picture, pick one that will fit into the piece of wood that you have.


Step Three: Wait and Finishing Touches
Allow the wood to dry for 24- 48 hours before moving or touching the wood to be sure that it is dry through and through. Once it is all the way dry, drill a small hole onto the top of the piece of wood, thread a ribbon through it, and tie it off for optimal tree hanging. If you feel like it needs an embellishment or perhaps extra pazazz, you can add stickers or paint around the picture or maybe add the year onto the back to remember the fun times of this particular Christmas season.